If you have night photography in your “to-do” list but you have limited experience, then these practical tips are for you. Night photography is technically challenging and very demanding genre but very aspiring at the same time. It is not desirable to start with negative experience and failure though, which you might if you skip important steps like planning for example. Nobody likes spending night outdoors without a single good shot. And you may catch a flu or be late at work the next morning. In this blog post I want to share some practical tips for night photography to make your experience mostly positive.
Plan it
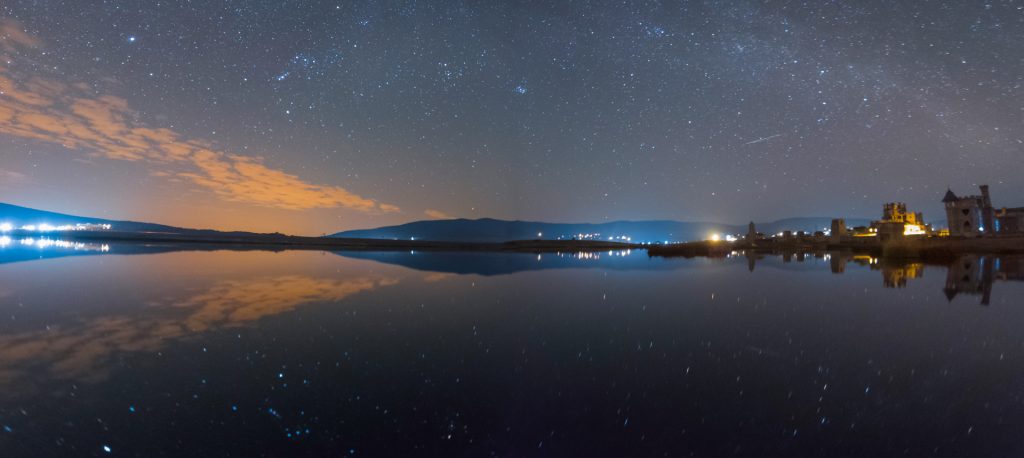
As the saying goes, failing to plan means planning to fail. The first right step is to elaborate a plan. What do you want to shoot? Cityscape, nightscape, moon or deep sky objects? Decision on “when” and “where” depends on that. If you choose a city as your location, you will not be able to shoot the stars. If you plan to shoot full Moon, forget the stars. If you want to shoot moonrise, check when and at what angle it rises on your location (there are plenty of software and web sites for that). I would personally recommend using a free desktop app called stellarium (www.stellarium.org).
Equipment choice also depends on your target. Wide angle lens and a Full Frame DSLR is my go-to combo for nightscapes. You do not need a very fast lens for cityscapes (so, not necessarily a f/2.8 lens), but shooting stars requires as much light gathering capabilities as possible (affordable option is Rokinon 14mm f/2.8).
On a Tripod Using a Remote
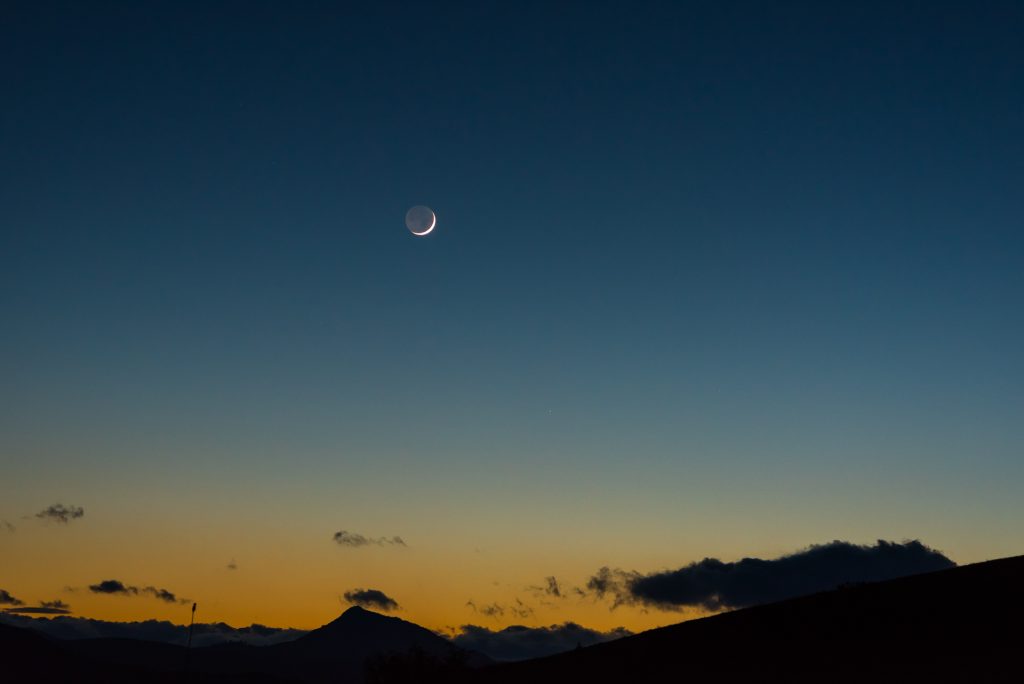
Night photography implies using long exposures to take pictures (1, 5, 10 seconds or more). Any shake or vibration during the exposure will cause image to be blurry. So you will need a sturdy tripod with a decent ballhead. As long as you should avoid touching camera during exposures, a remote controller is a must. Alternatively you can use a timer, but remote is a preferable option. Do not forget to close viewfinder to avoid light leak through it (some cameras have tiny levers that close viewfinder. But if yours does not have that, you can use a dark tape). If you have a mirrorless camera then you do not have to worry about your electronic viewfinder at all. No need to say that you should not run in front of the lens with your flashlight on. Use red lights but even then, avoid direct light into the lens.
Houston, We are Switching to Manual Mode
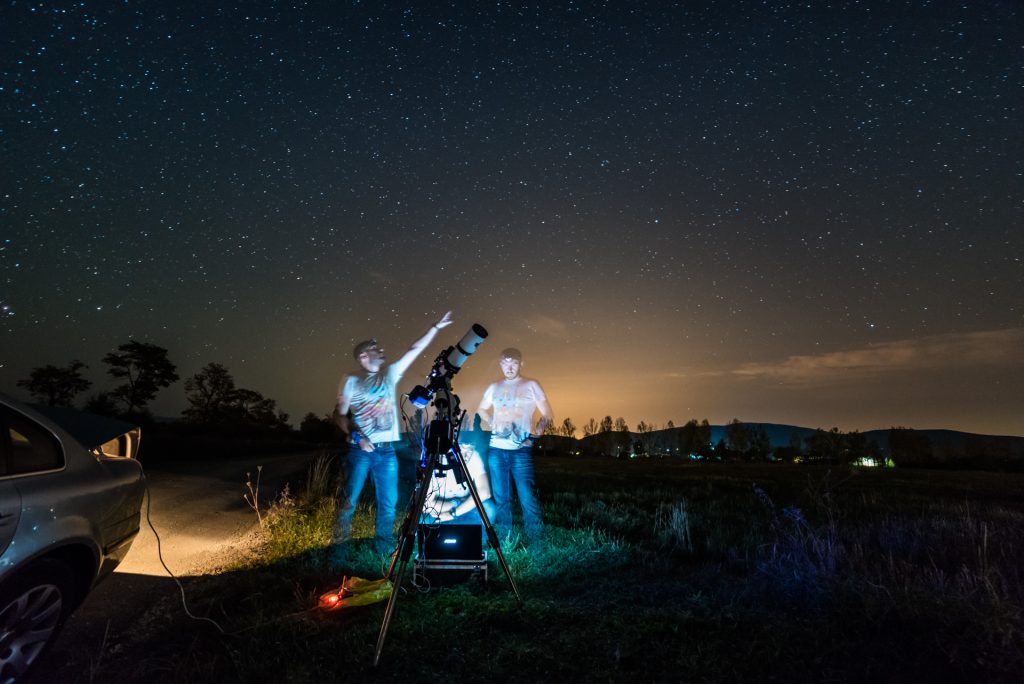
Forget all your “auto” modes – Auto Focus, auto exposure, auto white balance… Camera auto modes are not intended to be used in such specific conditions. So turn off the lens auto focus and try manually focusing, in a Live View mode (see my blog on focusing for night photography). Make sure you are shooting in RAW. Set exposure mode to Manual (“M” mode for most systems) and spend some time experimenting on exposure. Choose manual white balance and set it between 3,000-4,000 K range.
Check the Weather Forecast… or Not!
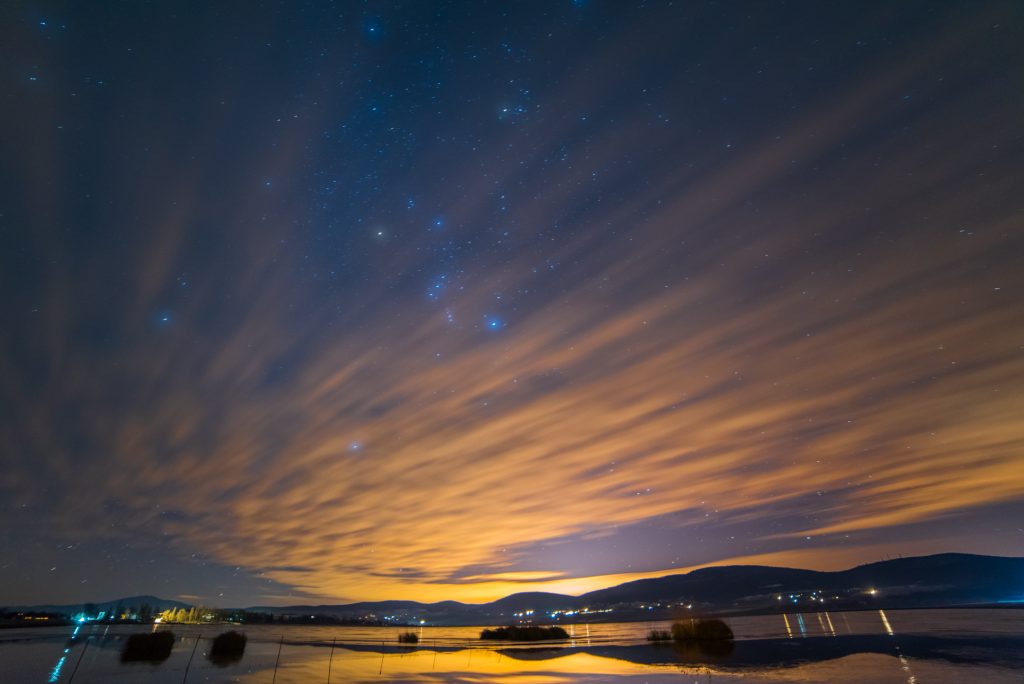
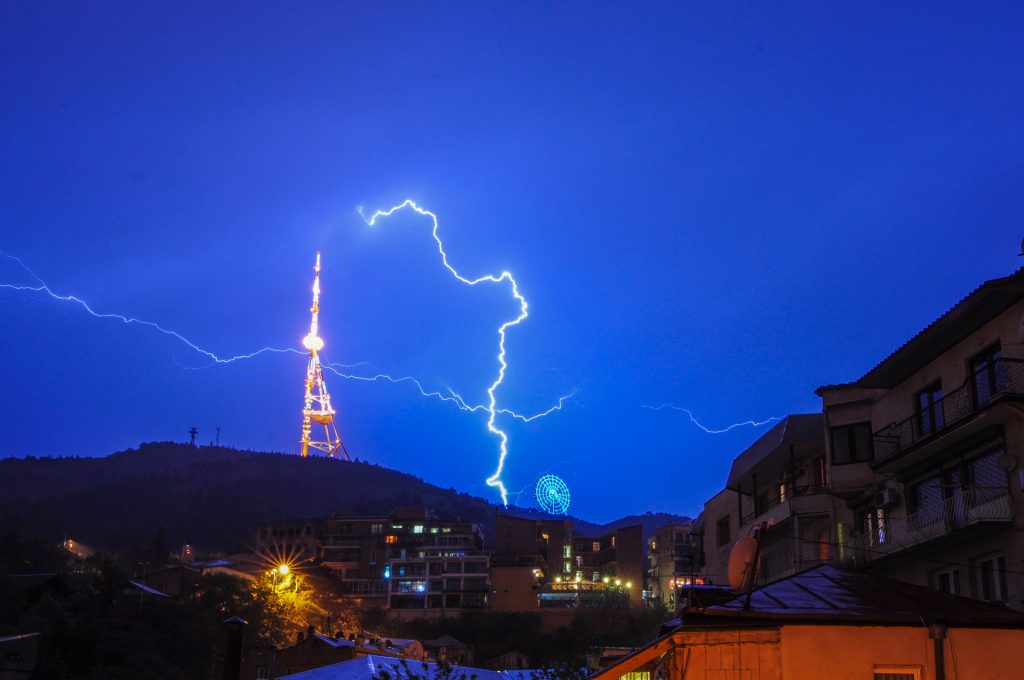
To shoot a starry night, you are going to need a cloudless, moonless night sky, preferably far away from the city lights. Check the weather forecast in advance, but if the forecast is not supportive, do not give up easily. Night photography is so much more than just shooting stars. Use long exposure to create moving clouds effect. Shooting lightning is a complete sports itself!
Murphy’s Law
Be ready for surprises. Have additional batteries with you, second remote, spare sandwich and if something still goes wrong, stand on your knees and pray!
You must log in to post a comment.